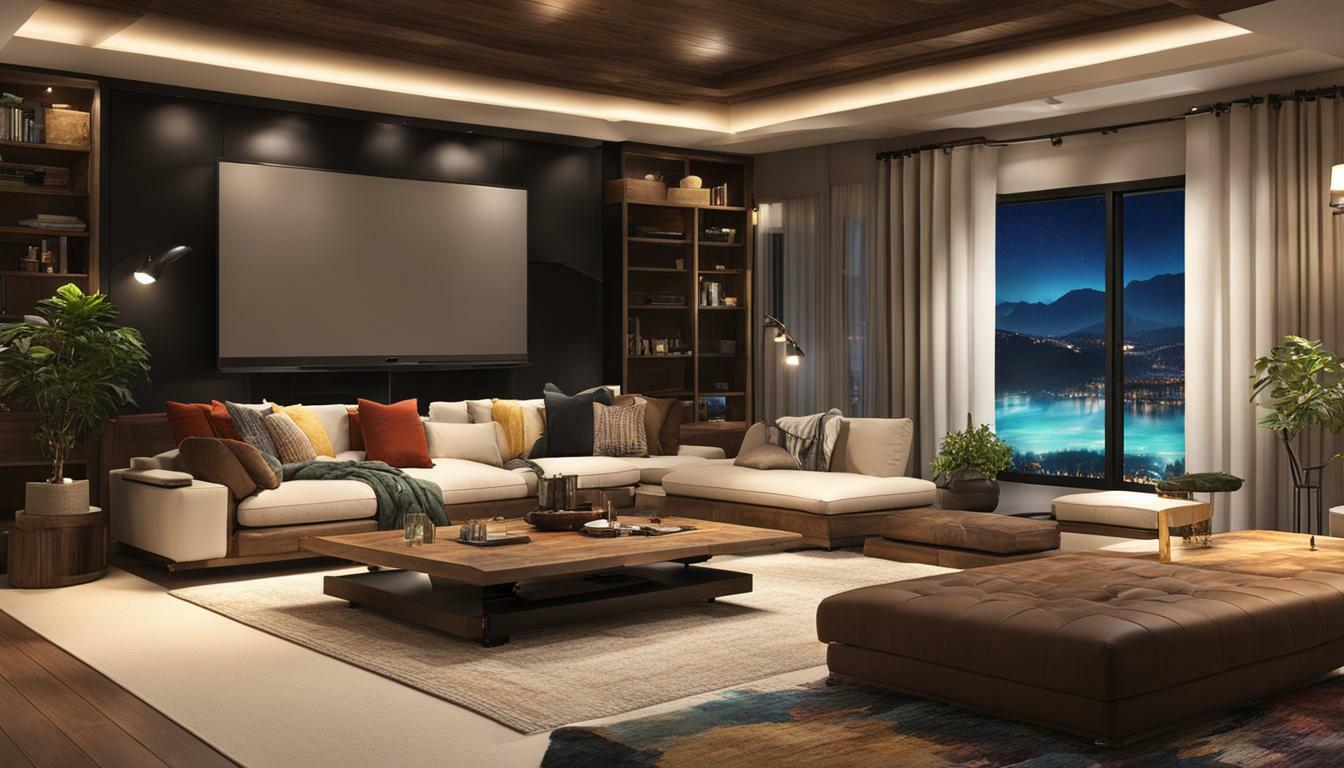
Transform your living space into a cinematic oasis right in the heart of your home with our DIY Home Theater Installation Guide. If you want to build a DIY home theater room, there are several aspects to consider:
- Decide on the screen type, whether you want a projector and screen or a large flatscreen television
- Determine the theater style and if you want extras like a wet bar
- Consider if you want wired or wireless devices and ensure you have proper light and sound control
- Soundproofing the room with insulated walls and doors is important for optimal sound quality
- Plan the layout of the room, including the locations of the screen, media device closet, seating arrangements, outlets, and lighting
- If you are building the room from scratch, frame the walls and run plumbing and electrical lines as needed
- Insulate the walls, hang drywall, and apply joint compound
- Install the flooring and create a separate space for the media devices
- Finally, install and hook up the lights, outlets, and plumbing, and finish the room with paint, curtains, and a sound-absorbent floor covering
With our comprehensive guide, you’ll have all the information you need to create your very own cinema at home. Say goodbye to crowded theaters and hello to the ultimate movie-watching experience right in your living room. Let’s get started!
Choosing the Right Screen Type and Theater Style
When setting up your DIY home theater, it’s essential to consider the right screen type and theater style that suits your preferences and space. To help you make informed decisions, here are some key points to keep in mind:
- Screen Type: Decide whether you want a projector and screen or a large flatscreen television. Consider factors such as image quality, screen size, and budget. Projectors provide a cinematic experience with larger screen options, while flatscreen TVs offer convenience and easier installation.
- Theater Style: Determine the desired theater style for your home theater room. Do you envision a classic movie theater with rows of seats, a cozy den with plush recliners, or something in between? Think about your seating preferences, the number of people you want to accommodate, and any extras you’d like, such as a wet bar or popcorn machine.
Considering the Room Size and Layout
Now that you’ve decided on the screen type and theater style, consider the size and layout of your home theater room:
- Room Size: Measure the dimensions of the room to determine the appropriate screen size and seating arrangement. Remember to account for the viewing distance from the screen for optimal viewing experience.
- Screen Placement: Decide where you want to position the screen in the room. Consider factors such as viewing angles, natural light sources, and potential obstructions.
- Seating Arrangements: Plan the seating layout based on the size and shape of the room, ensuring comfortable viewing for all viewers. You can choose between individual recliners, a sectional sofa, or traditional theater-style seating with rows of chairs.
- Media Device Closet: Allocate a separate space within the room to house your media devices, such as the projector, AV receiver, and media player. This helps keep the room clutter-free and protects the equipment.
By considering these aspects of screen type, theater style, room size, and layout, you’ll be well on your way to creating a DIY home theater that provides an immersive and enjoyable cinematic experience right in the comfort of your own home.
Wired or Wireless: Deciding on Connectivity Options
Before diving into the setup process, it’s crucial to determine whether you prefer wired or wireless connectivity for your home theater devices. Both options have their pros and cons, so let’s take a closer look at what each has to offer:
Wired Connectivity
- Stable and reliable connection: Wired connections typically offer a more stable and reliable connection compared to wireless.
- Consistent performance: With a wired setup, you can expect consistent performance without worrying about interference or signal dropouts.
- No latency issues: When it comes to gaming or watching fast-paced action scenes, a wired connection ensures minimal or no latency issues.
- Higher bandwidth capacity: If you’re a fan of high-quality streaming or want to connect multiple devices simultaneously, wired connectivity usually offers higher bandwidth capacity.
Wireless Connectivity
- Flexibility and convenience: Wireless connectivity allows you to eliminate the need for cables and enjoy a clutter-free setup, offering more flexibility in device placement.
- Ease of installation: Setting up wireless devices is generally easier and more user-friendly compared to wiring connections.
- Expanding device connections: If you plan to expand your home theater system in the future, wireless connectivity allows for easy addition of new devices without the hassle of running cables.
- Improved mobility: With wireless connections, you have the freedom to move around while still enjoying your favorite movies or music.
Ultimately, the choice between wired and wireless connectivity depends on your specific needs and preferences. Consider factors such as the distance between devices, desired performance levels, and the layout of your home theater room. You can also opt for a combination of both wired and wireless connections to achieve the best of both worlds. Whichever option you choose, ensuring a stable and secure network is essential for an optimal home theater experience.
Creating the Perfect Sound and Light Environment
Achieving the perfect sound and light environment is essential for an immersive home theater experience, and this section will guide you through the necessary steps. To ensure optimal sound quality, start by soundproofing the room with insulated walls and doors. This will help eliminate outside noises and create a more acoustically controlled space.
Next, consider installing sound-absorbent materials such as acoustic panels or curtains to further enhance the sound experience. These materials can help reduce echoes and reverberations, resulting in clearer audio. Additionally, positioning your speakers correctly and calibrating them to the room’s acoustics will contribute to a rich and balanced sound throughout your home theater.
In terms of lighting, it’s important to have control over both natural and artificial light sources. Install blackout curtains or blinds to block out any unwanted sunlight that may interfere with the movie-watching experience. For artificial lighting, opt for dimmable lights or smart lighting solutions that allow you to adjust the brightness according to your preference. This will help create the ideal ambiance for different movie genres or viewing occasions.
Key points:
- Soundproof the room with insulated walls and doors to eliminate outside noises.
- Consider using sound-absorbent materials like acoustic panels or curtains to enhance sound quality.
- Position and calibrate speakers correctly for a balanced audio experience.
- Install blackout curtains or blinds to control natural light.
- Use dimmable lights or smart lighting solutions for adjustable artificial lighting.
By implementing these sound and light control techniques, you can transform your home theater into a truly immersive cinematic space. So grab your popcorn, dim the lights, and get ready for a movie experience like no other, right in the comfort of your own home.
Planning and Layout for the Home Theater Room
Proper planning and layout are key to creating a functional and enjoyable home theater room – from screen placement to seating arrangements and organizing the media devices. To make the most of your DIY home theater installation, consider the following:
Room Layout:
- Choose a dedicated room that is large enough to accommodate your desired screen size and seating arrangements.
- A rectangular-shaped room is ideal, as it allows for optimal viewing angles and acoustics.
- Consider the room’s dimensions and take into account any obstacles such as windows or doors that may impact screen placement.
Screen Placement:
- Decide on the desired viewing distance and angle for the best immersive experience.
- Consider mounting the screen on the shorter wall to minimize light reflection and maximize viewing angle.
- Ensure the screen is positioned at eye level when seated for comfortable viewing.
Seating Arrangements:
- Choose comfortable seating options, such as plush recliners or a sectional sofa, to enhance the cinematic experience.
- Arrange the seating in a way that ensures everyone has a clear view of the screen.
- Consider adding a riser or platform at the back for a stadium seating effect.
Media Device Closet:
- Create a dedicated space or closet to house and organize your media devices, such as a Blu-ray player, game console, or streaming device.
- Ensure proper ventilation and easy accessibility to the devices for maintenance or upgrades.
- Keep cables and wires organized and hidden to maintain a clean and clutter-free look.
By carefully planning the layout of your home theater room, you can create a space that not only provides an immersive cinematic experience but also reflects your personal style and preferences. Take the time to consider the room’s layout, screen placement, seating arrangements, and media device organization to ensure that every movie night is a memorable one.
Building the Home Theater Room from Scratch
If you’re starting from scratch to create your home theater room, this section will walk you through the process of building it step by step. Here are the key steps to follow:
- Frame the walls: Begin by framing the walls of your home theater room. Use sturdy materials that can support the weight of a flat-screen television or a projector and screen setup.
- Run plumbing and electrical lines: Plan the locations for plumbing fixtures and electrical outlets. Hire professionals to install the necessary plumbing and electrical lines according to local building codes.
- Insulate the walls: Insulation is crucial for soundproofing your home theater room. Install sound-deadening insulation material between the wall studs to minimize sound leakage and ensure optimal audio experience.
- Hang drywall and apply joint compound: Once the walls are insulated, hang drywall and apply joint compound to create a smooth and seamless surface. This will provide a clean canvas for painting or any other wall treatments you desire.
- Install the flooring: Choose a flooring option that enhances the acoustics of your home theater room. Sound-absorbent carpet, laminate, or engineered wood flooring are popular choices. Install the flooring, paying attention to proper insulation and moisture protection.
- Create a media device closet: Allocate a separate space within the room for housing your media devices. This will help keep cables organized and reduce clutter. Ensure proper ventilation and access for maintenance.
Finishing the Home Theater Room
Once the construction phase is complete, it’s time to add the finishing touches to your home theater room:
- Install and hook up lights and outlets: Place lighting fixtures strategically to create the right ambiance. Install outlets at convenient locations for powering your equipment.
- Add paint and curtains: Choose paint colors that enhance the cinematic experience. Install blackout curtains or blinds to eliminate unwanted light during movie nights.
- Consider sound-absorbent flooring: To further enhance sound quality, opt for a sound-absorbent floor covering, such as cork or rubber flooring. This will minimize sound reflections and provide a more immersive audio experience.
By following these steps, you can create a home theater room from scratch that not only meets your entertainment needs but also provides a truly immersive cinema experience in the comfort of your own home.
Finishing Touches: Lights, Outlets, and Aesthetics
The finishing touches are what truly bring your DIY home theater installation to life, and in this section, we’ll explore the steps to ensure your cinema at home is aesthetically pleasing. When it comes to lighting, consider installing dimmable LED lights that can be adjusted to set the mood for different movie genres. Strategically placed sconces or recessed lights can create a cozy ambiance without causing screen glare.
Outlets are essential for powering your media devices and charging ports for your smartphones and tablets. Make sure to install them conveniently near your seating area and media device closet. Having multiple outlets not only ensures easy access but also allows for future upgrades or additions to your home theater setup.
To enhance the visual appeal of your home theater, consider using a fresh coat of paint in a dark, neutral color to help reduce any light reflection. Additionally, blackout curtains can be installed to block out any natural light that may interfere with your movie-watching experience.
For optimal sound quality, invest in sound-absorbent flooring such as carpet or cork. These materials help to absorb sound and reduce echo, creating a more immersive and acoustically pleasing environment. Remember to choose carpeting with a low pile to avoid any interference with the seating or screen area.